What to expect from 3D printing
My printer is well dialed-in and I've made a lot of these, so prints usually come out as clean as FDM gets. Even so, 3D printing — like any way of making real parts — has limits worth knowing before you order. Here's what your print will actually look like.
Shapes and overhangs
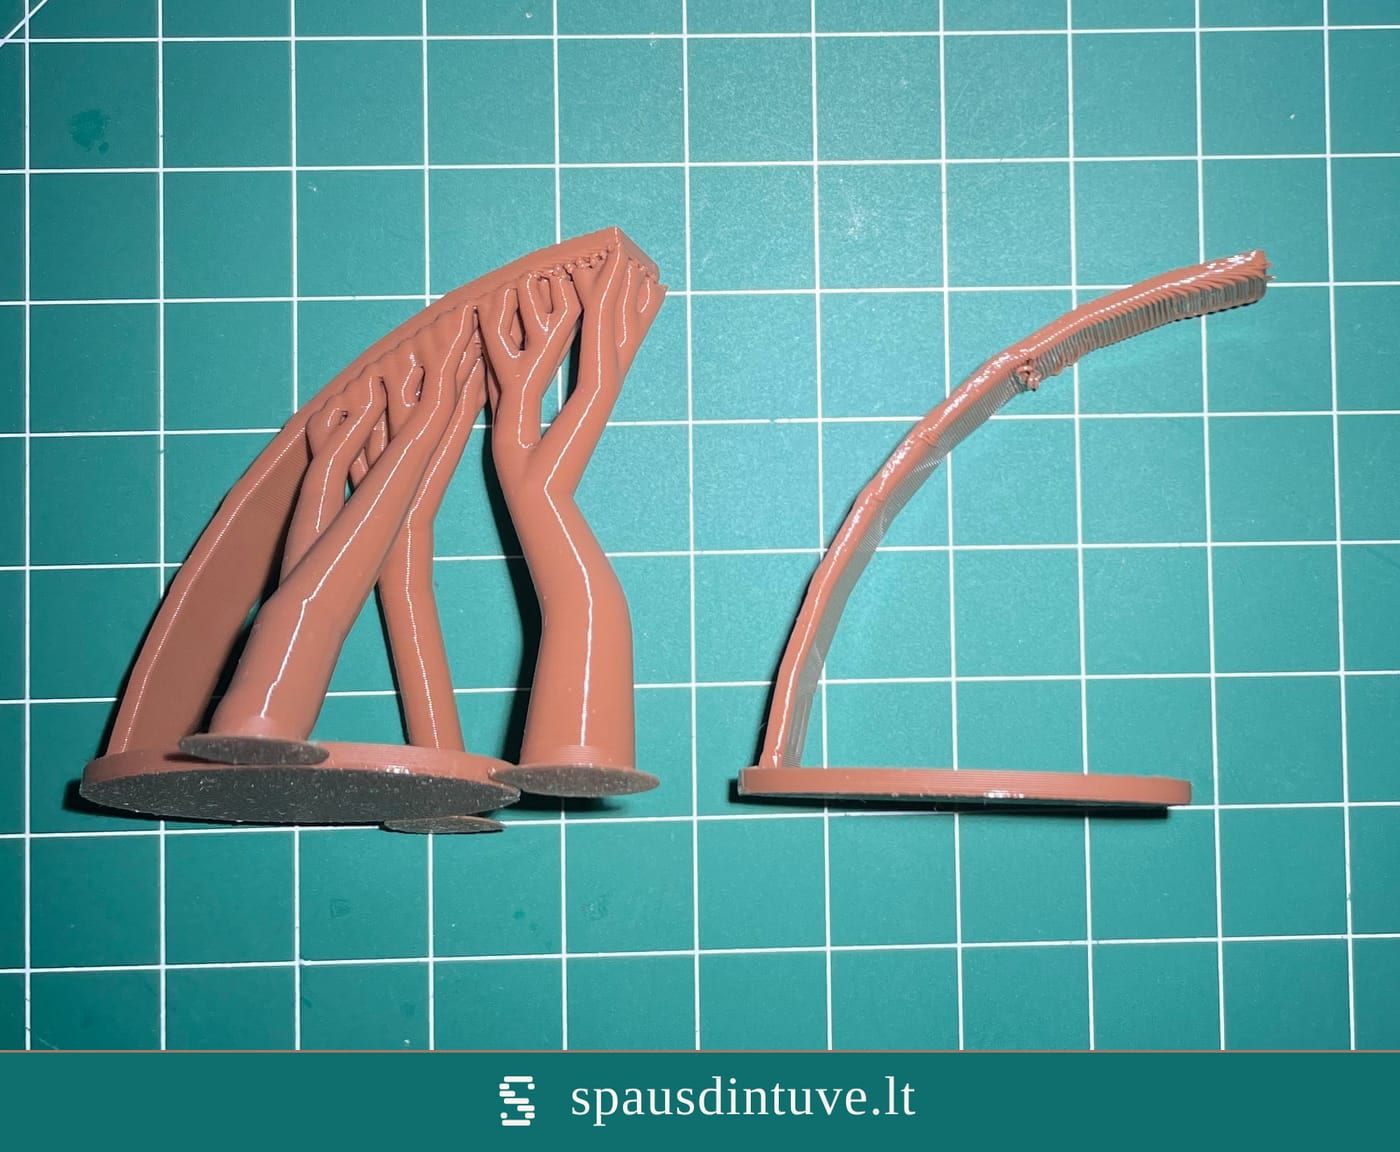
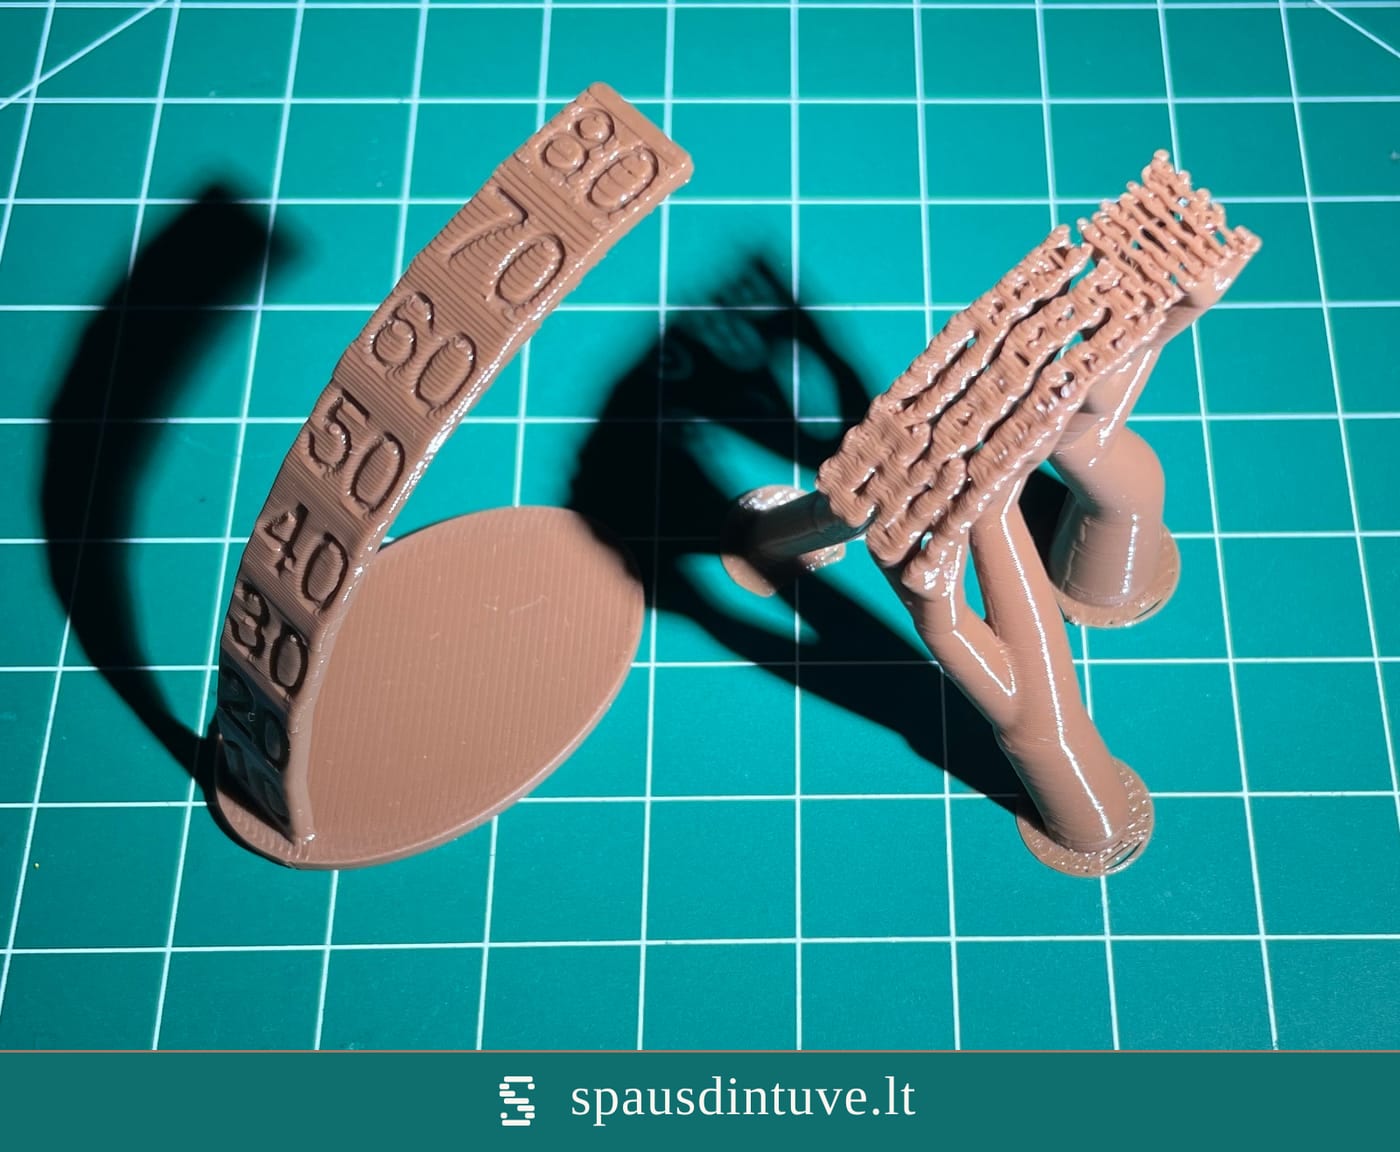
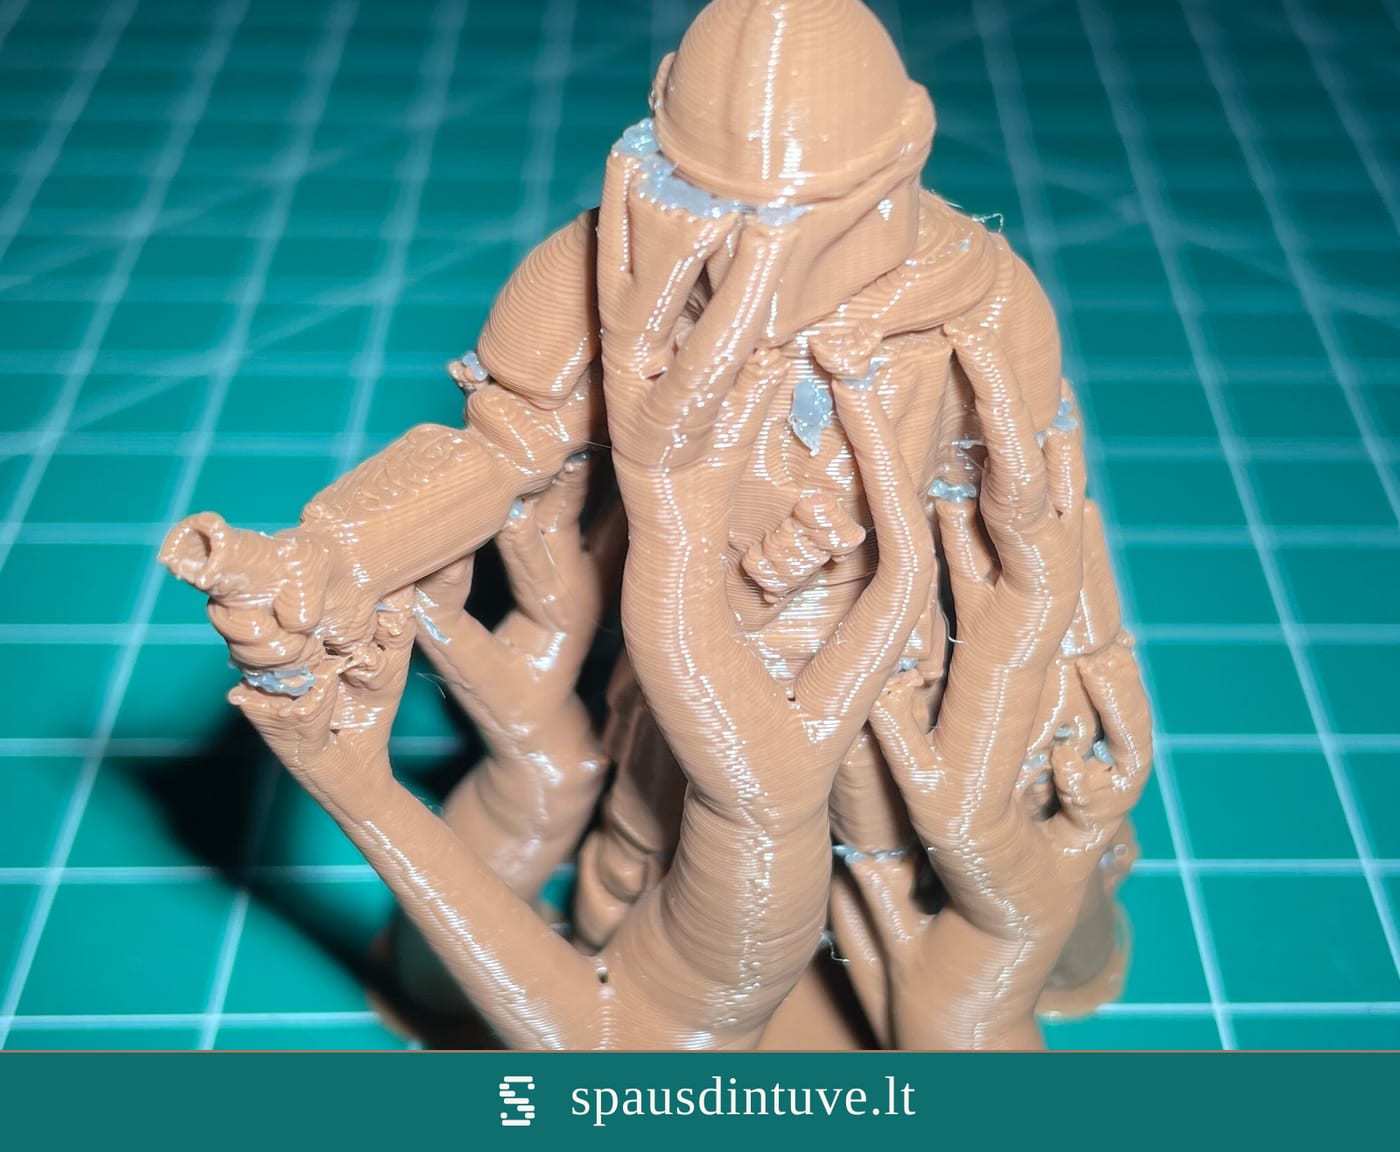
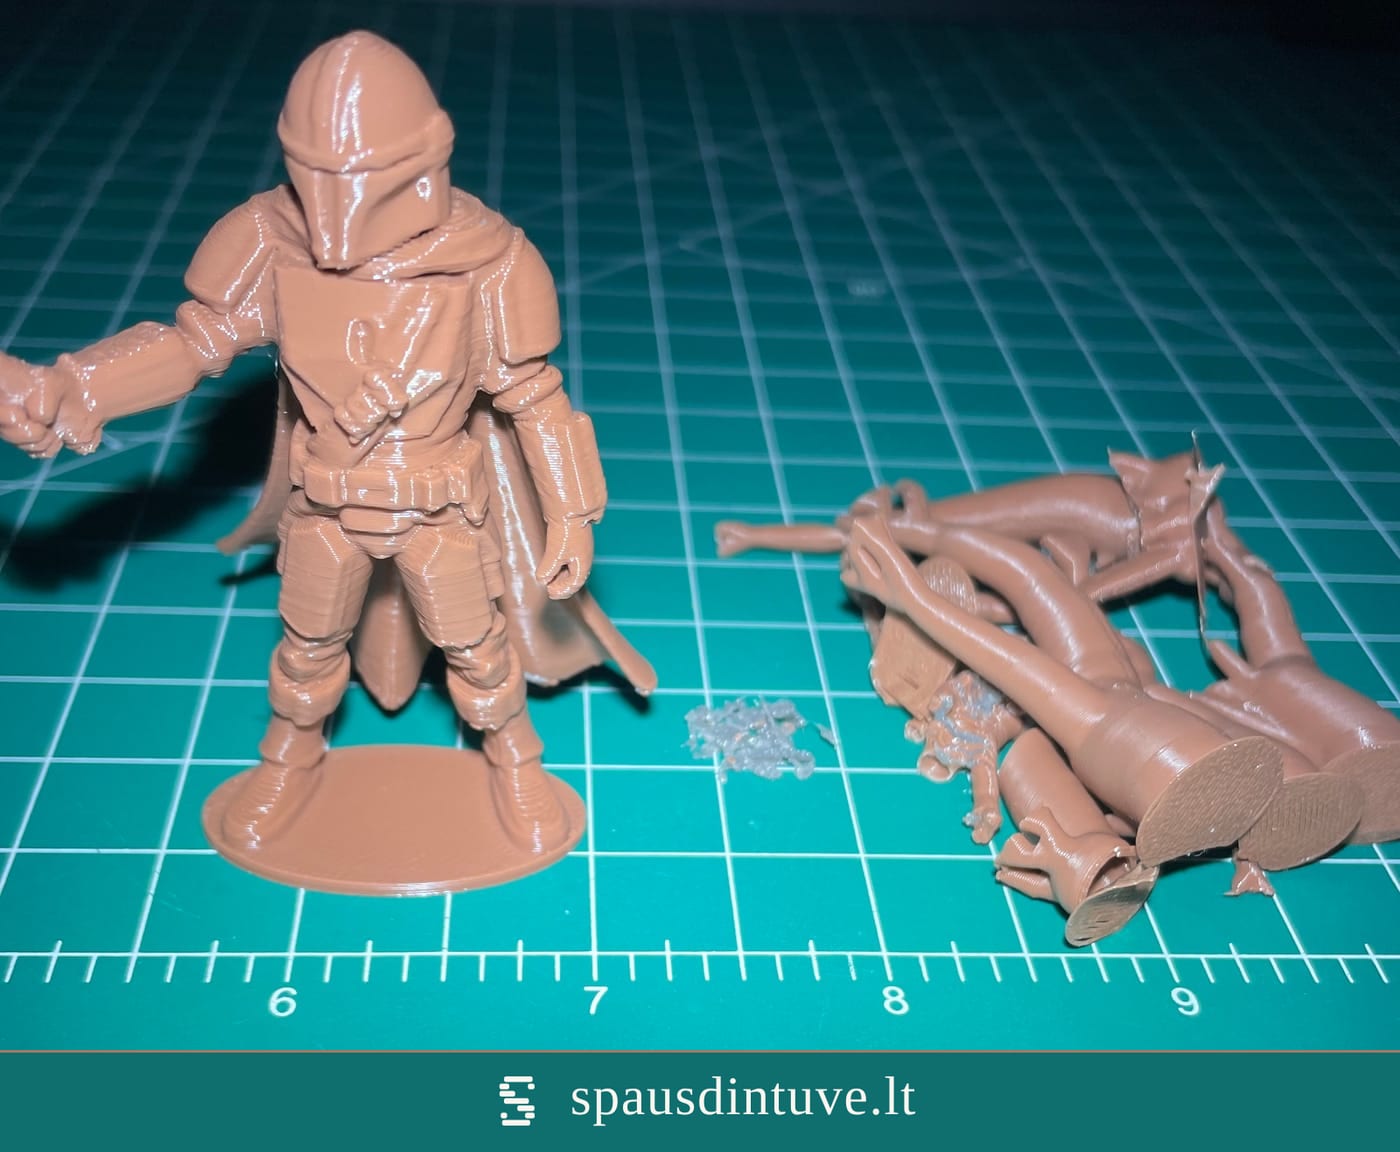
- Some shapes are easy, some are hard. Anything that juts out over thin air needs temporary supports printed underneath, and removing them leaves small marks — very fine or delicate features (miniatures, say) can break outright. If a model looks risky this way, I'll usually catch it and let you know before you pay.
Fit and dimensions
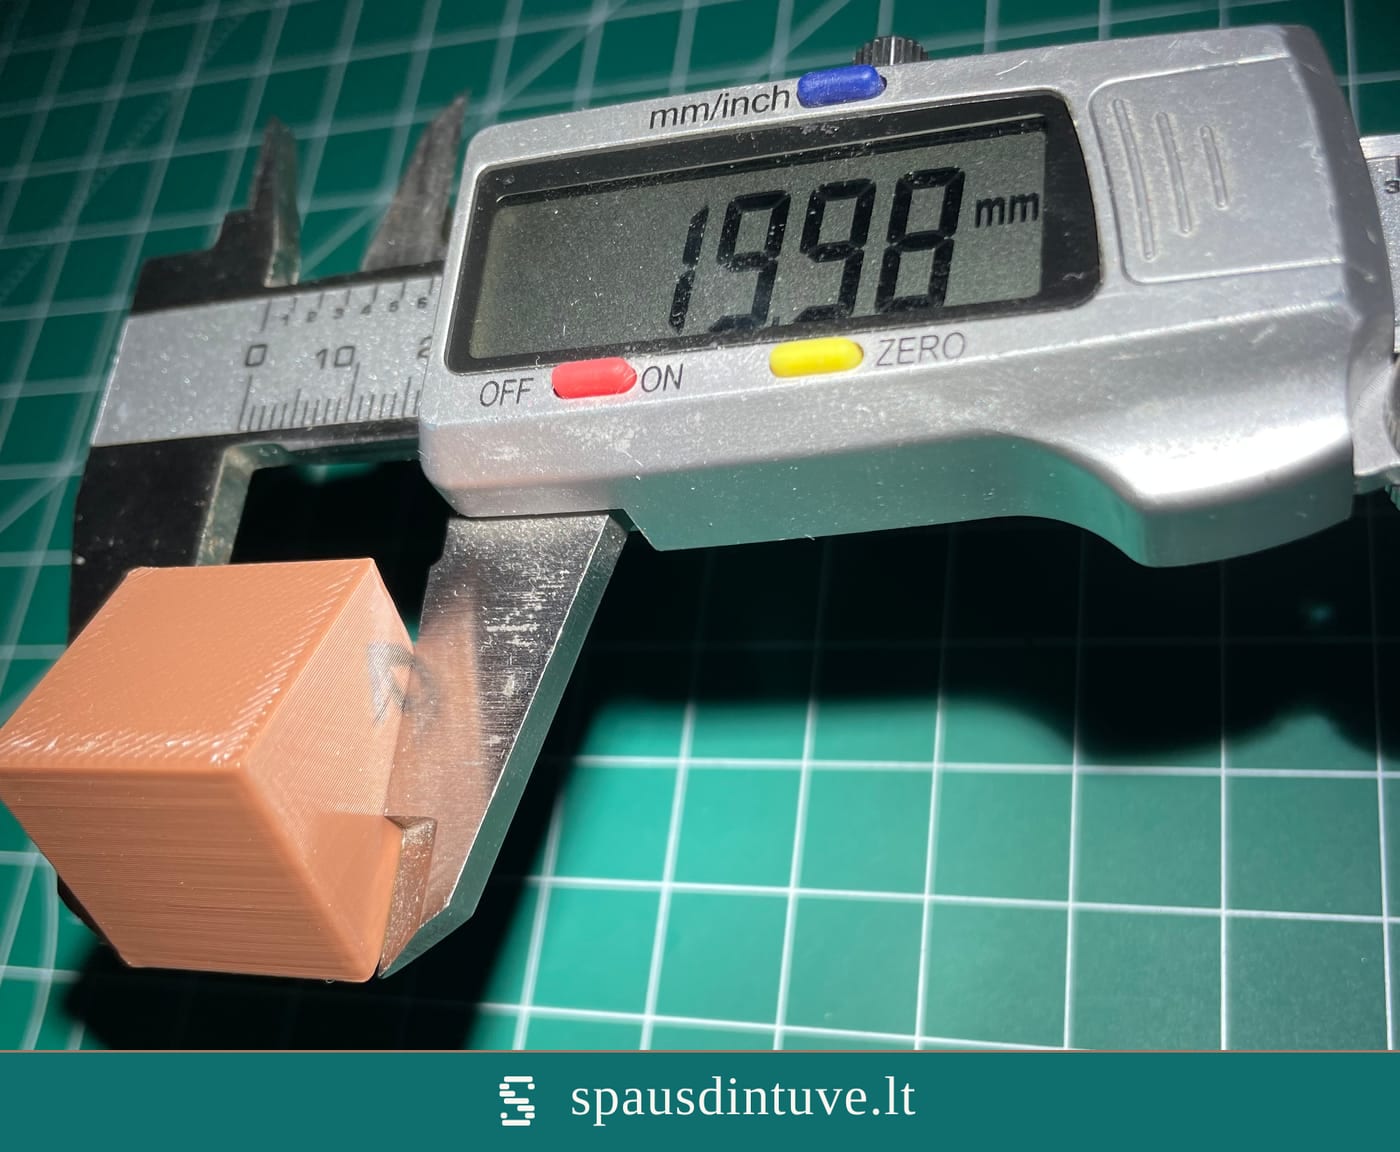
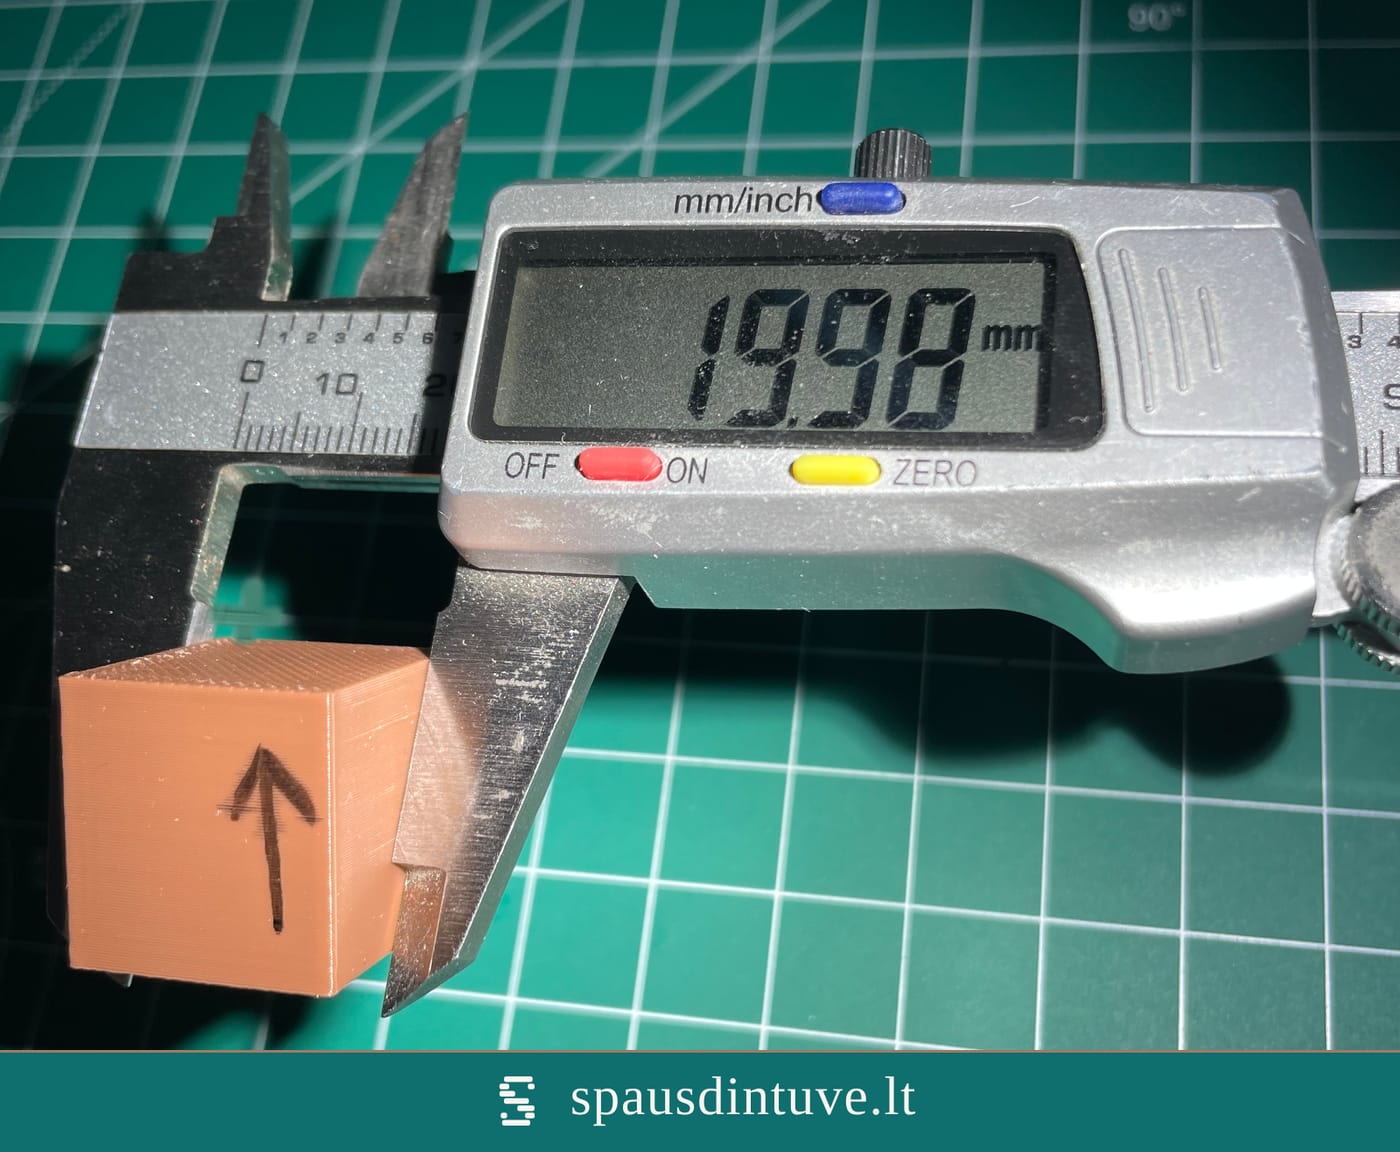
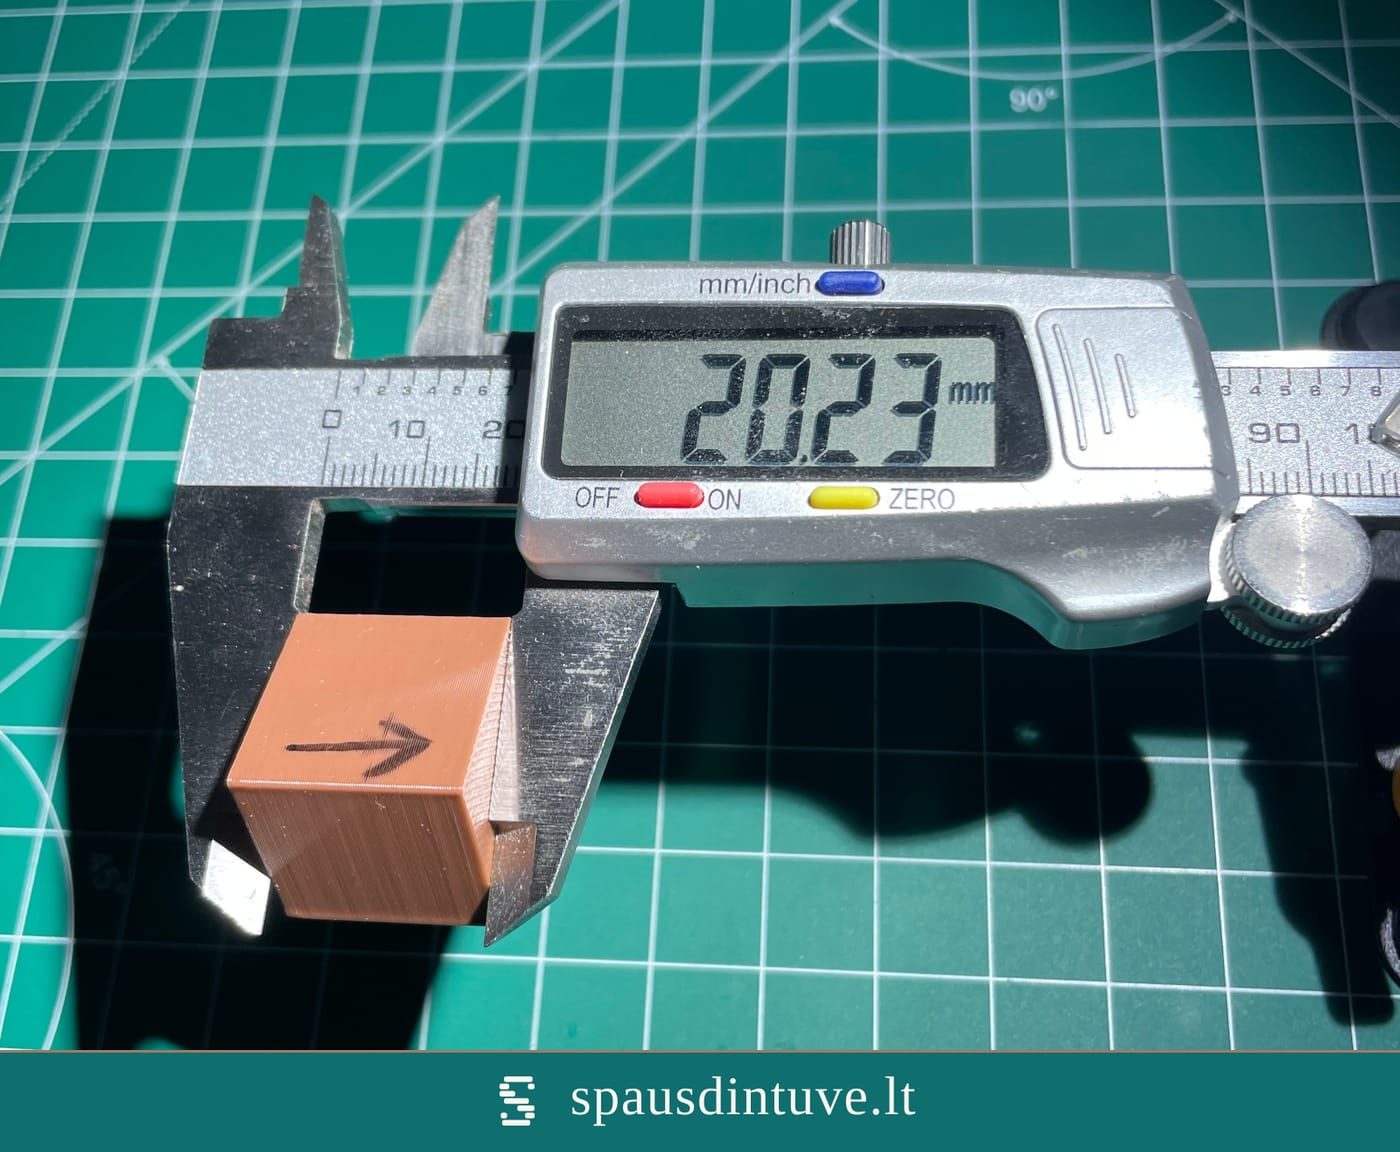
- FDM printing, like any other way of making things, has its accuracy limits. With my printer and settings width and length usually land within about ±0.1 mm. Height can come out a touch over — that's a slight ridge in the top surface, and a minute of sanding takes it off. I print your model as sent and don't edit the files, so any sizing — a hole for an M3 bolt, for instance — has to be in the model. A standard bolt hole prints fine. But getting one printed part to fit snugly into another printed slot is fiddly and rarely worth the trial-and-error — when you design it, leave a ~0.3–0.5 mm gap so the parts slide, or join them with glue or screws.
Strength and toughness
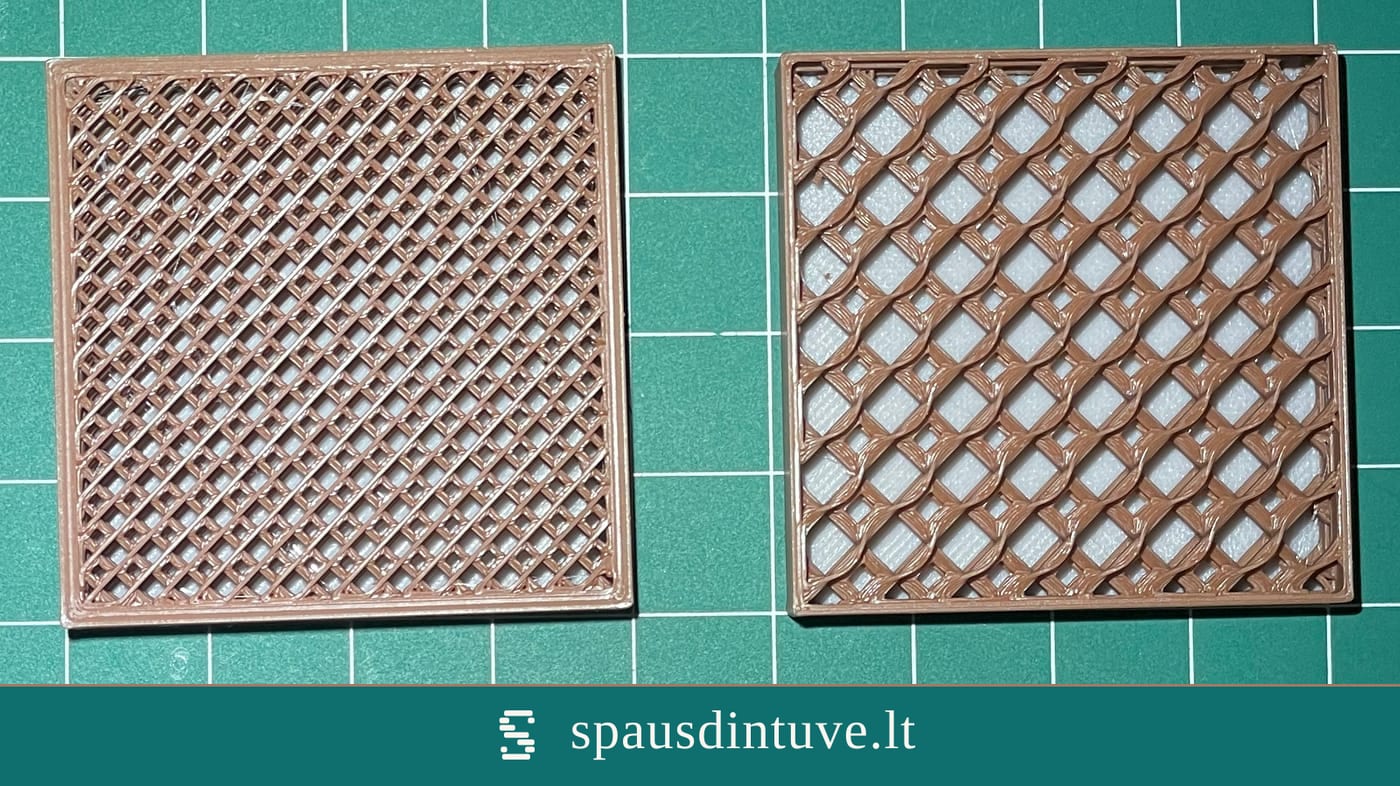
- Not every part needs to be built like a tank, and there's more than one way to make one strong. A little counterintuitively, the biggest gains usually come from a thicker, tougher outer shell rather than from cramming more plastic into the middle — a solid shell around a lighter core gives you a part that's strong without being needlessly heavy or slow to print. That's how my Standard profile is set up for everyday parts. When something has to carry real weight or take a beating, the Strong profile thickens that outer shell and reinforces the core. Printing a part completely solid all the way through is rarely worth the extra plastic and time — I save that for the rare part that genuinely needs to be a solid block.
Strength and print direction
- 3D printed parts aren't equally strong in every direction. Because they're built up layer by layer, they behave a lot like wood — they split more easily along the grain. On the quote page, the "Print position" preview (the middle image) shows the orientation I'd pick for efficient printing, but under load a part arranged that way would most likely break across the horizontal plane, at its narrowest point. If it's just decorative, that doesn't matter. But if it's a bracket, hook, or mount that has to hold weight or take an impact, just leave a quick note when you order about how you'll use it. I'll manually rotate the part on the bed so it's strongest exactly where you need it.
Layer lines
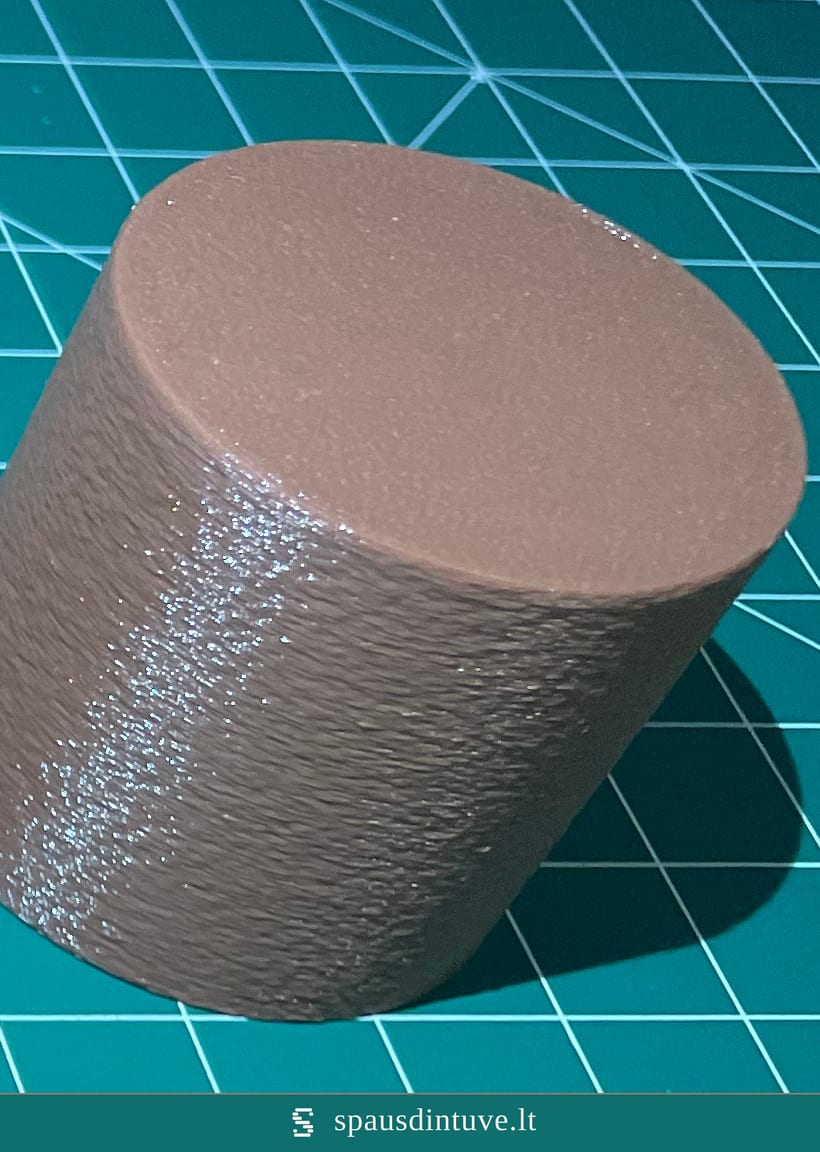
- Every part is printed layer by layer (0.20 mm each), so seeing them is a normal characteristic of the final piece, not a defect. On flat faces and upright walls they're subtle. But on a gently slanted or curved surface those layers show up as fine steps, and the shallower the slope, the more they stand out (the top of a sphere is the classic spot where they look rough). If you want it smoother, I'd sand the print and give it a coat of primer and paint. Layer lines are also hidden well by matte plastics, filled plastics (glass or carbon fiber, or stone or wood particles), or a subtly textured surface I can switch on while printing. If you'd like a textured surface, tell me when you order which faces should be textured.
The seam
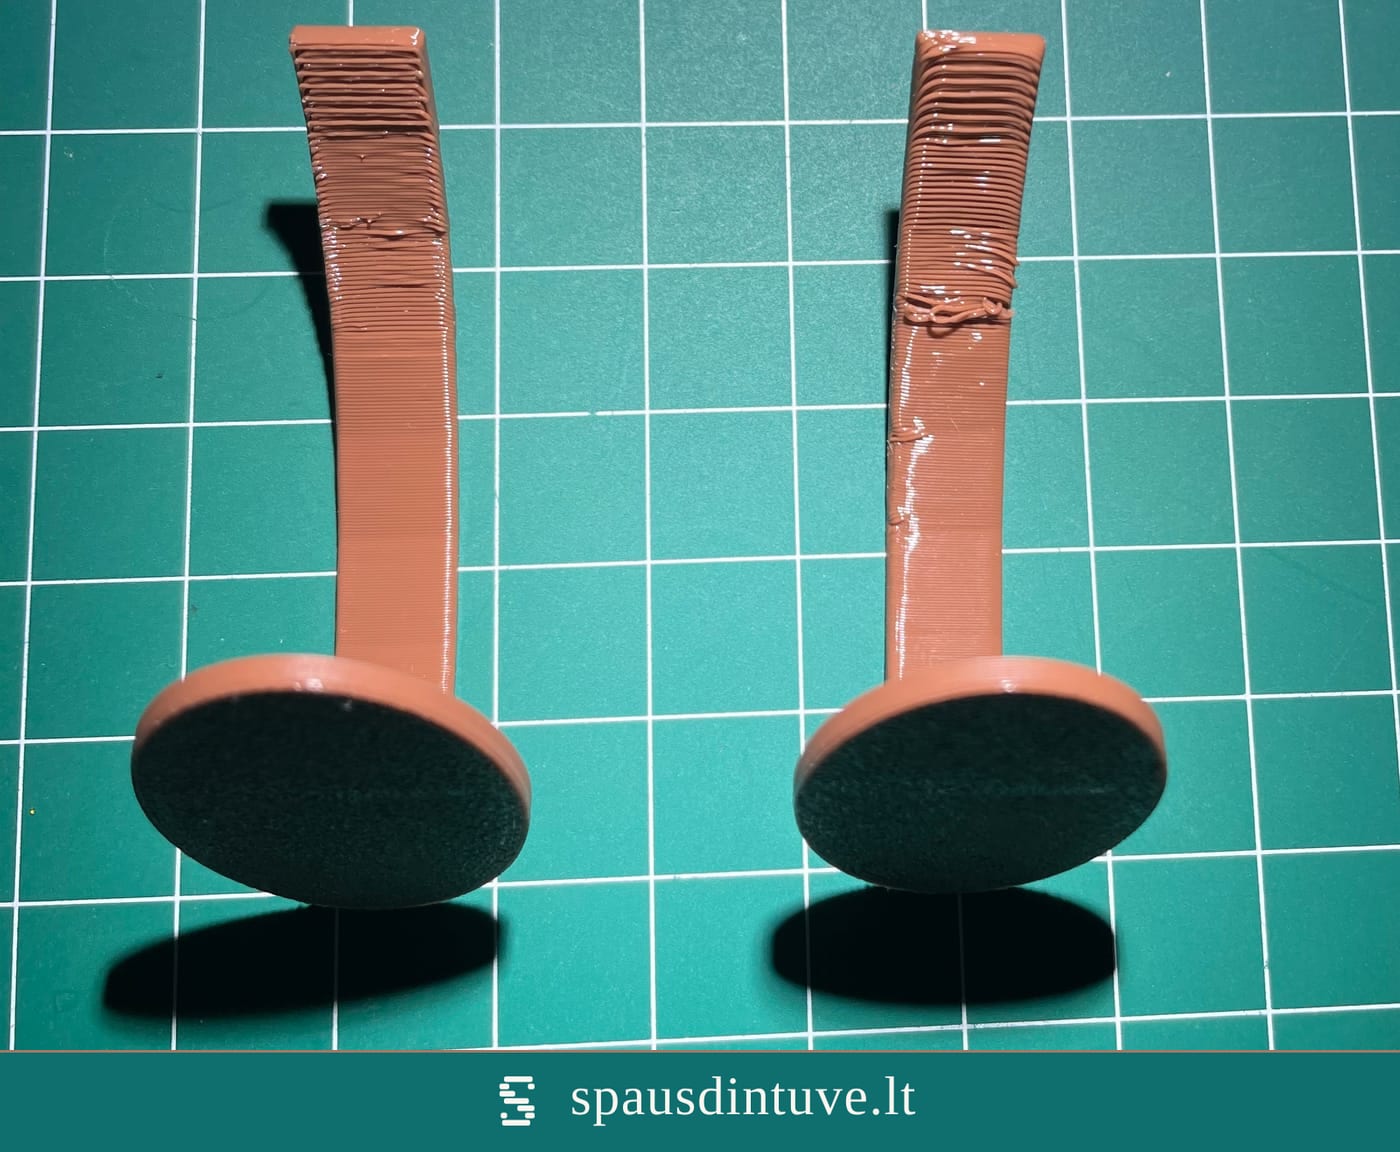
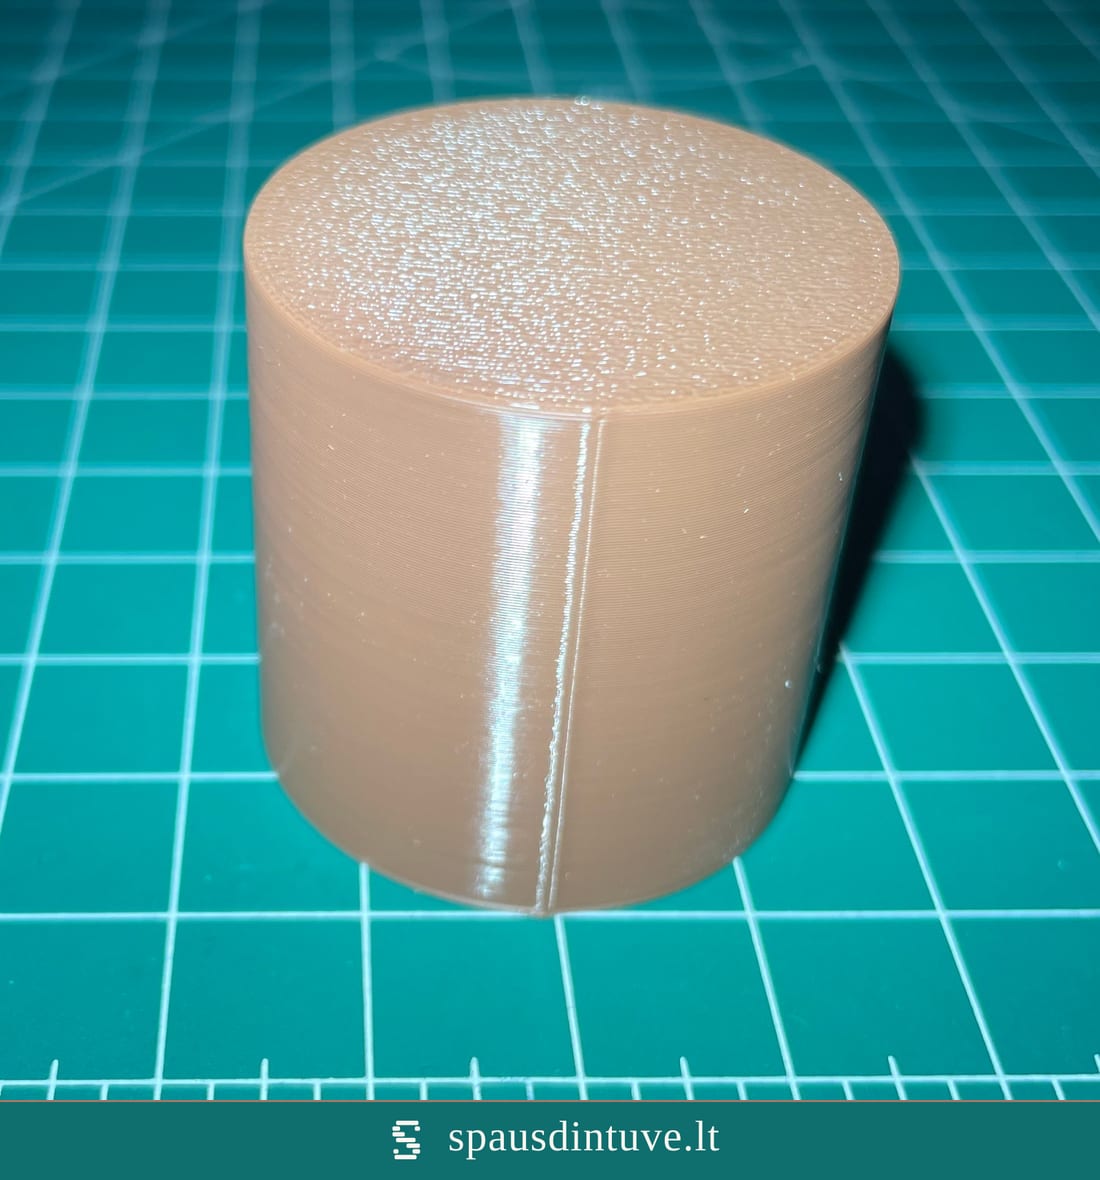
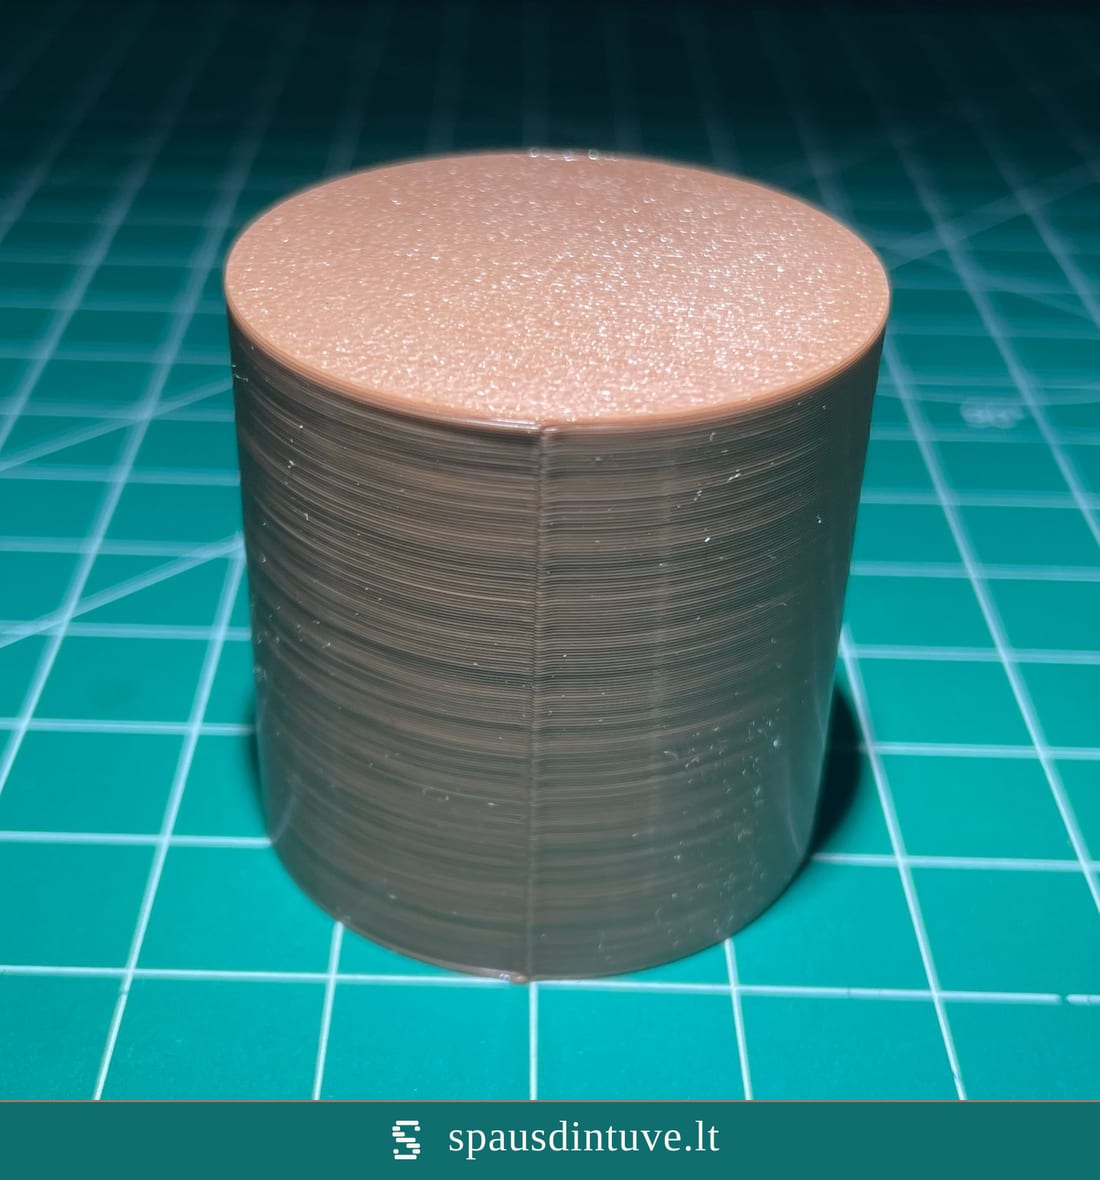
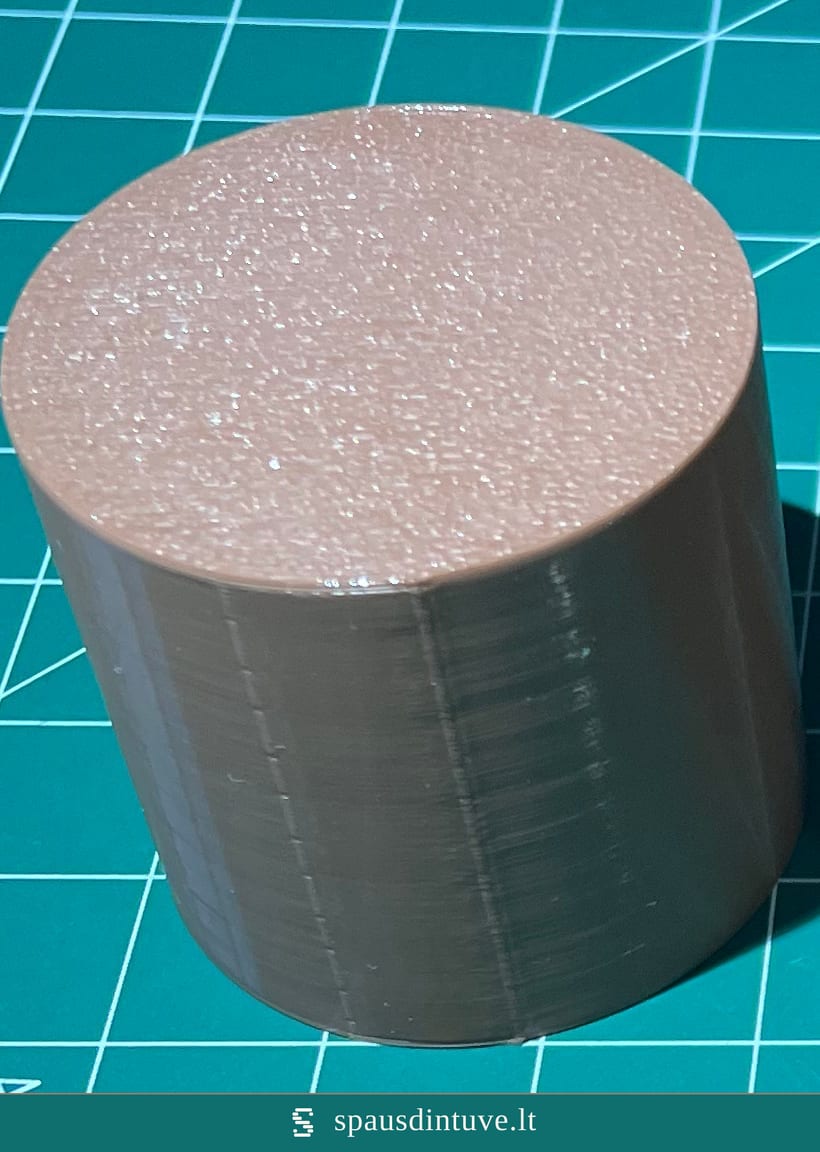
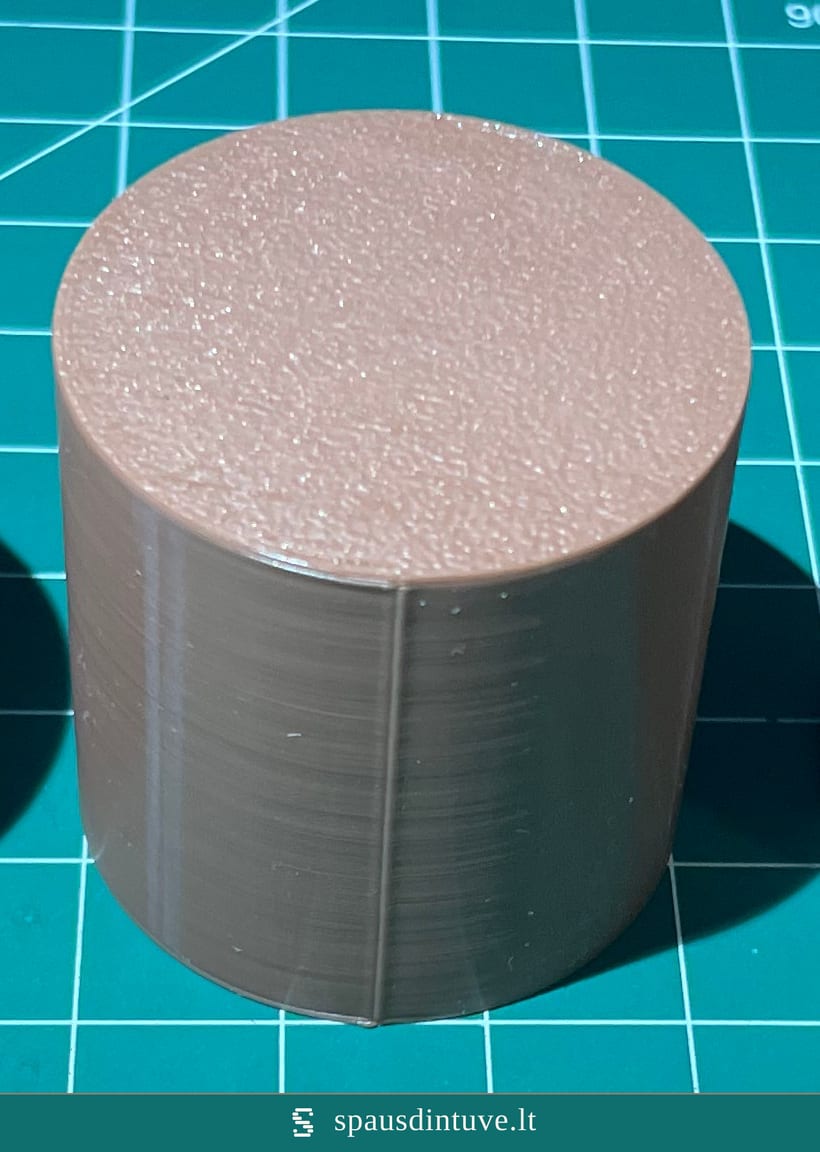
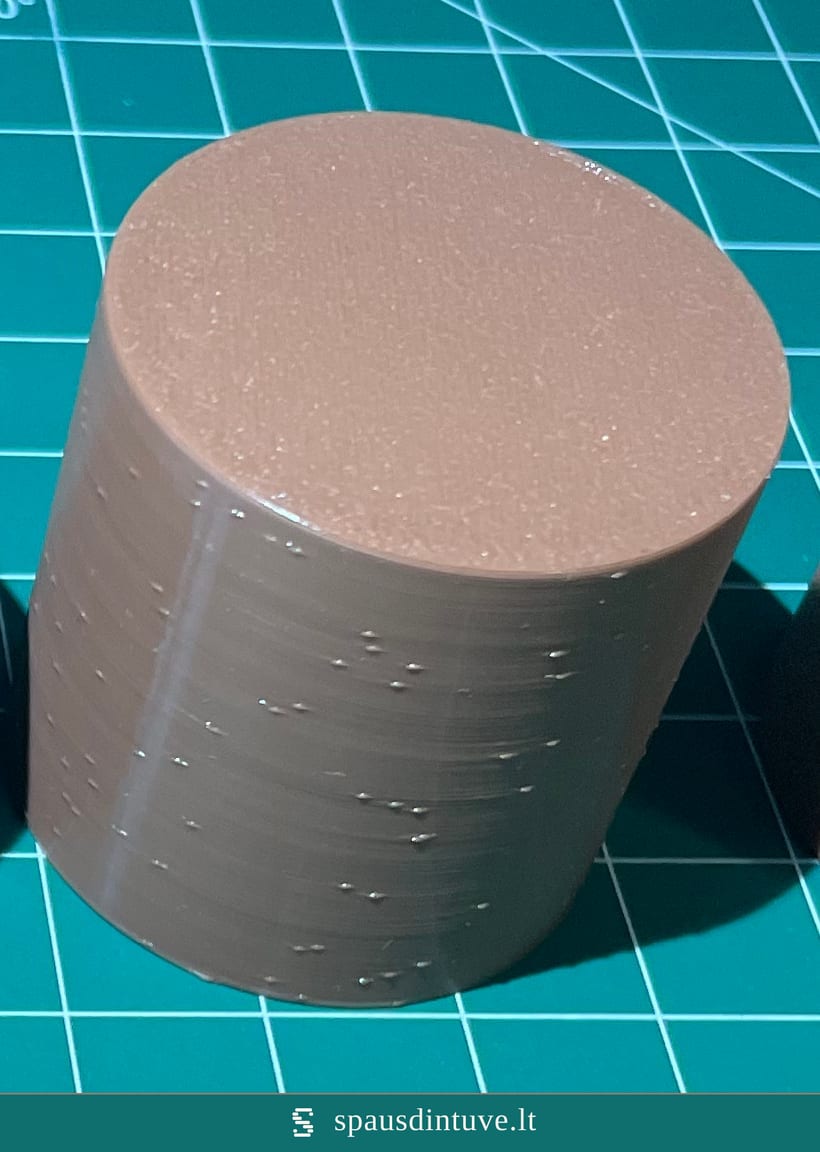
- Every layer has to start and stop somewhere, and stacked up those points make a seam. It can't be removed altogether, but I can pick how it looks: blended away, lined up into one tidy line, scattered into small dots, or hidden under a fine surface texture. The photos are a cylinder, which is the worst case — a round wall gives the seam nowhere to hide. On a model with corners or edges it gets tucked into one, and it's far less noticeable.
Color and finish
- Colors are approximate. The filament I stock comes in everyday shades, not calibrated ones, so think "a shade of yellow" rather than an exact one — and while black and white are usually identical, two separate orders of other colors may come from different spools, so shades can vary a little. That's normal. If you need an exact, consistent color, the reliable route is to sand, prime with a filler primer, then paint. On the other hand, some brands calibrate their filament to the RAL palette for consistent color, but that filament costs about twice as much — rarely worth it.
How the print profiles compare
When you order, you choose how I print your part. Here's how the options differ, starting with the everyday default.
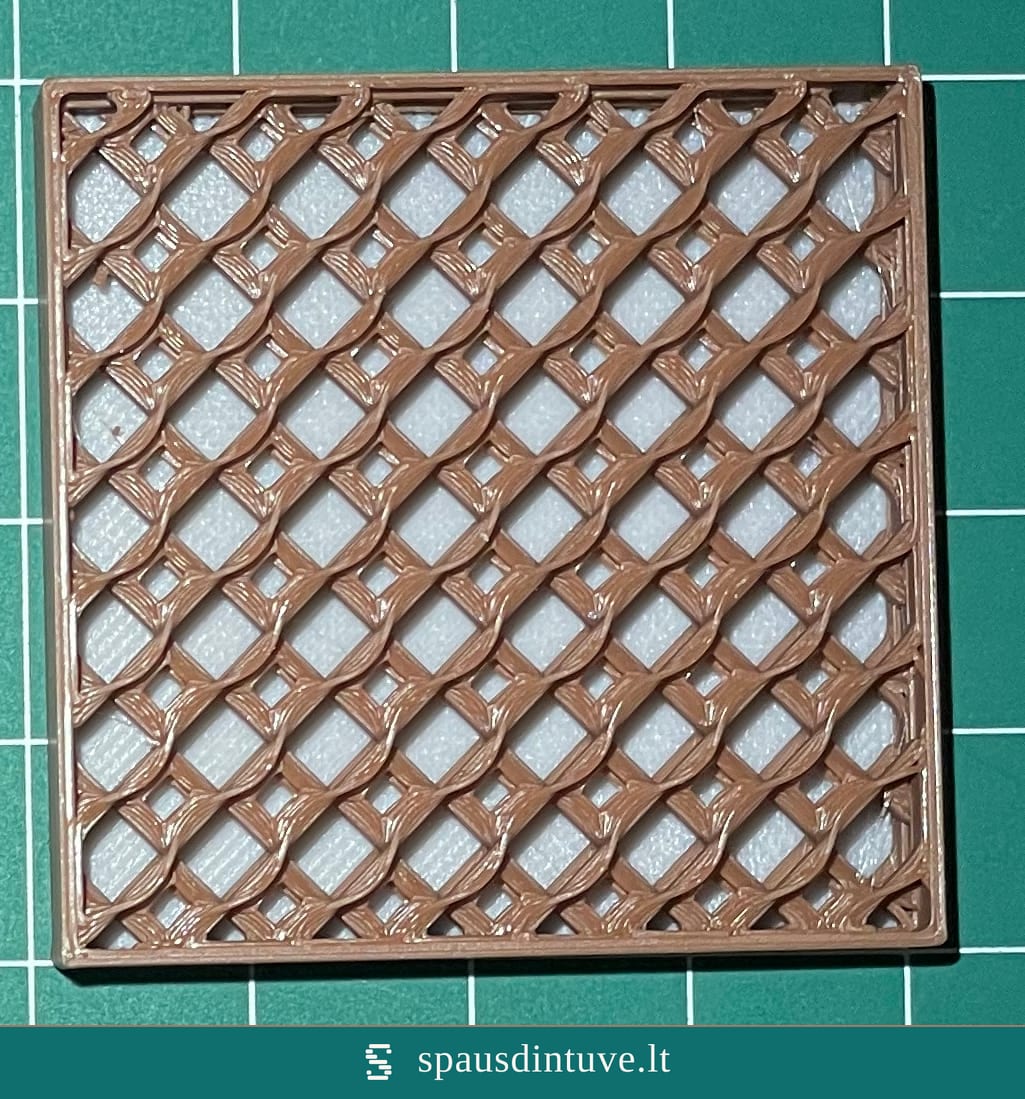
The reliable all-rounder that looks great and handles everyday use; pick this if you aren't sure.
Tech details
- Nozzle: 0.40 mm
- Layer height: 0.20 mm
- Fill: 15%
- Wall thickness: 1.35 mm
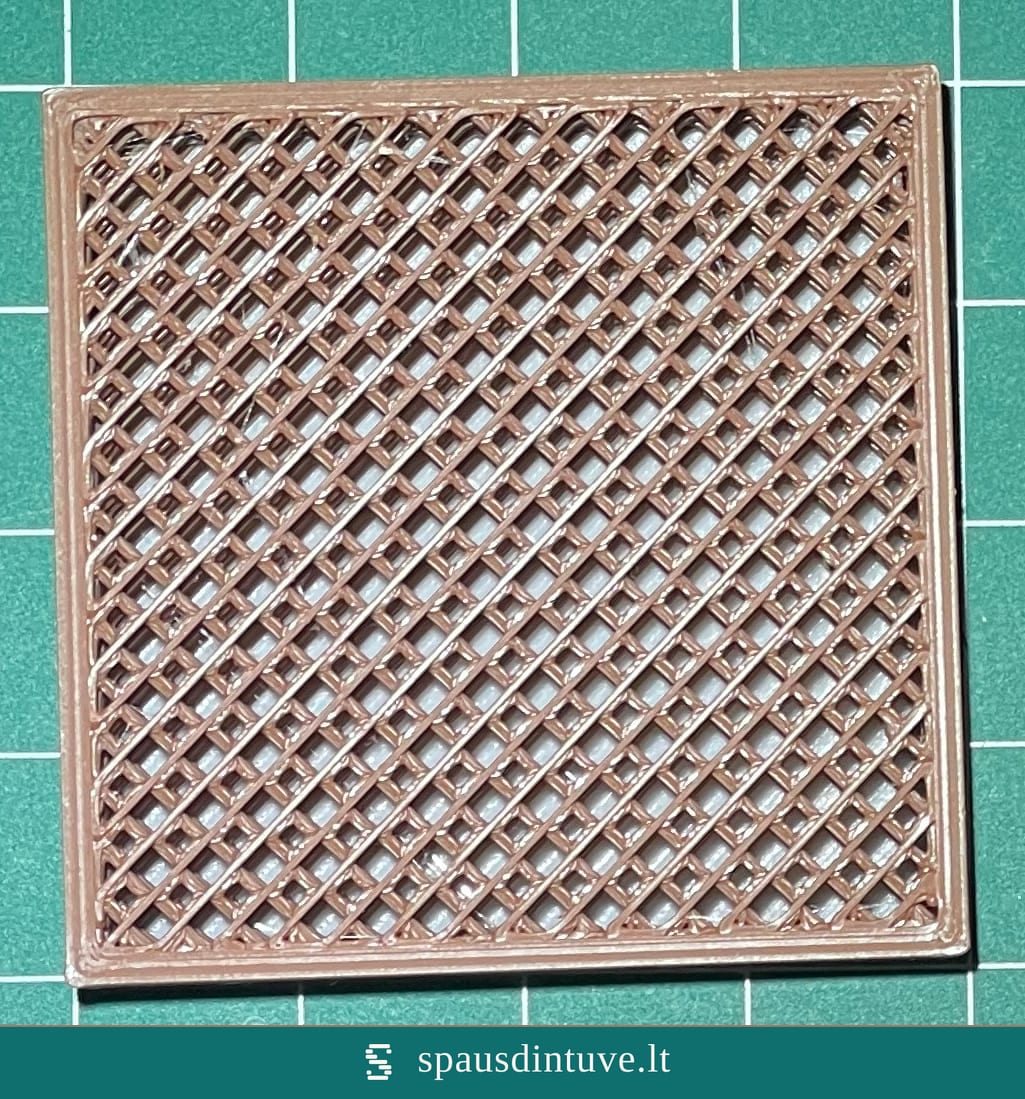
Built more solid throughout, so it stands up to weight and everyday strain — for functional, load-bearing parts.
Tech details
- Nozzle: 0.40 mm
- Layer height: 0.20 mm
- Fill: 25%
- Wall thickness: 2.70 mm
Got a part in mind? Upload the file and I'll send you a price. Get a quote